Showing posts with label Design. Show all posts

Saturday, July 30, 2011

Frugal Find: Outdoor Patio Furniture

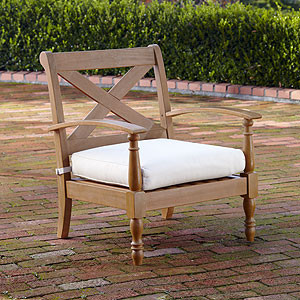
As I've said before, I love a good deal as much as the next girl, especially when I've been patiently waiting to make a purchase. I've been keeping my eyes peeled for a super-affordable patio set to aid in the much-needed makeover of my back porch. I've looked a bit online to see what catches my eye, but I haven't done any serious shopping... hoping to find something used, or on sale in an end-of-the-season clearance. In my online searches, I've liked this Maldives patio set from World Market:


So you can imagine my delight when, on my 2nd lap around World Market a couple days ago, I found a few left-over pieces on a super-duper clearance tucked behind a display.

They were 50% off for basic end-of-the-season clearance. A great deal, right? Well, this particular set was an additional 25% off because the manufacturer forgot to put the outdoor sealant on it. Well, that's easy! I can take care of that! A patio set at 75% off? Yippee! Imagine my glee when they told me I could ALSO use my 15% off coupon on top of the 75% off. That's a total of 90% off! So I stocked up!

One of these:


Two of these:


And a table:


At a price tag of under $100 for all 4 pieces, I couldn't be happier! The clerk who checked me out was aghast at the deal I'd found.

Let the back porch makeover commence!

Tuesday, July 19, 2011

Unfinished Projects vs. Progress

I can't believe how July is just slipping away. I've really intended to post more often! What have I been up to (aside from normal life )? Well, I've either been dabbling in a number of projects ADD style, or I've been making progress in multiple areas... depends on how you look at it!

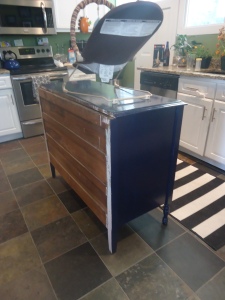
Dresser turned kitchen island taking shape - I began sanding a few nights ago, in the precious 1.5 hours I have to myself every day, between 8:30pm & 10pm And my neighbor only yelled at me once. Sigh. I guess I can't blame her... I was using a fairly loud power tool on my back porch at 9:45pm on a Thursday night. I was going to quit at 10:00, though, I promise! She probably doesn't realize that I have a baby who doesn't nap, and an EXTREMELY active/demanding toddler who doesn't give me a moment of peace all day. Night is the only chance I get to do things like this! I was mad/upset for a few minutes, and then I got over it. She was probably right.


messy work!


Now it's mostly painted... just a few finishing touches, and then a new top, and it'll be ready to show y'all!

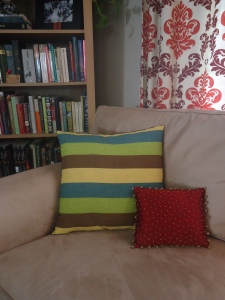
Sewed a couple 20 minute pillows - no zippers, welting or adornment. (Although an attempt at a short-cut turned them into 90 minute pillows! Should have just done them properly the first time... sigh.) The striped ones are new... I already had the red & floral pillows.


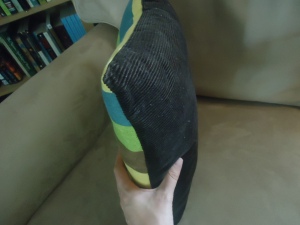
The striped fabric was a remnant I found in a clearance bin a year or so ago... picked it up for some unnamed project. The back is leftover brown corduroy from M's nursery.


They're not the most amazing pillows in the world, but just a little pick-me-up for the couch, which it's been needing for a while! And I'm currently really loving yellow - so I like this little splash of yellow mixed in with the reds & greens in my house.

Made matching shirts for baby & bro (tutorial to come!):


Mostly, though, I've been hanging with baby M & big brother Finley. Today we had a family outing at Evergreen Lake with Daddy. We escaped the heat & spent time together as a family - win-win!


Friday, July 8, 2011

Master Bath Sneak Peak

You may remember that we had to replace our entire waste line recently, just before Baby M was born. As a part of that process, we had to tear out the master bath, which really was ok, because it needed to be re-done.

BEFORE:


It just wasn't necessarily in our budget for this year - we were hoping to wait a little while. But we didn't have a choice! So we asked Justin's dad to "help" us put the bathroom back together after the plumber had fixed the waste line (read: spend all your free time & energy for several months doing all the work on your own - that's what happened after Baby M came - we were no help!). We're so very thankful for him! I truly couldn't ask for a better father-in-law. He's been working so hard on this project, coming by most evenings, after his long work-days as a PT. And of course there have been set-backs and complications at every corner! But now it's almost completely done! Here's a peak at some of the progress.


DURING DEMO:


It was a pretty serious demo project. It allllll came out - lathe & plaster walls, moldy shower tiles & old wood-framed window in the shower (yes, wood window... in the shower...) , the entire floor, sink, tub, toilet... I'm a little concerned about what my husband & father-in-law inhaled during this phase. Yuck!


DURING RECONSTRUCTION:


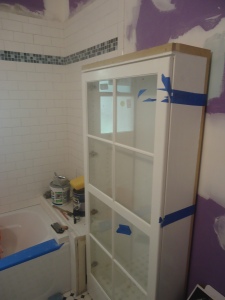
A friend thought I was painting the walls purple... nope! That's the color of the drywall.
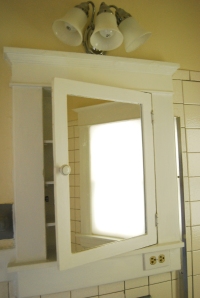
This glass cabinet was a frugal find at Bud's Warehouse - "home improvement thrift store." GREAT place!


The walls are painted now with Behr's Rocky Mountain Sky -
a soothing shade of greenish blue.


Glass tile accent in the shower.


The mosaic tile floors might be my favorite part! They give a vintage feel, which I wanted, to match our 100 year-old house.

Now I get to start on the fun part - accessorizing, decorating & making it a functional space! In fact, my husband is giving me the gift of a couple hours to myself this afternoon, and I'm going shopping for a vanity mirror!

Tuesday, June 7, 2011

Dresser Turned Kitchen Island

Last night I dragged my sister with me to buy a dresser I found on Craigslist. I've been searching the site for a couple weeks, looking for a piece with just the right lines to turn into a kitchen island - success is sweet!

Here are the photos that inspired me:


Ohhhhh. Amazing, right? (I first saw this on Nesting Place)


A bit less fanciful, but still wonderful. (From Faded Plains - her whole kitchen re-do is inspiring!)


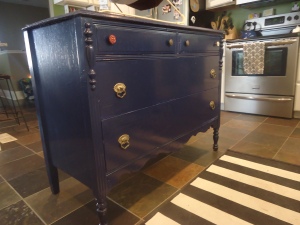
And here is my beauty. She needs some work... the previous owner put on a very thick layer of high-gloss navy blue paint. And there are drips and scuffs and a drawer that sticks. But she's full of potential! I think I'm going to live with her for a while as I decide on a color. I'm dreaming of a butcher block top, with a little overhang on the back to tuck a couple of stools under.


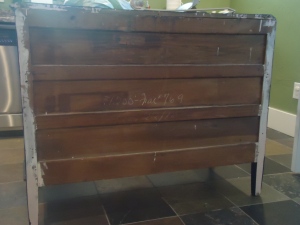
One thing I might do right away is paint the rustic back (which I LOVE!) with chalkboard paint for Finley. We'll see...


Real life moment: This is probably what the "island" will primarily be for the next few months - a place to put baby's bouncy seat!


UPDATE: For photos of the finished product, read the post titled "Finally Finished!"

Thursday, June 2, 2011

Outdoor Room

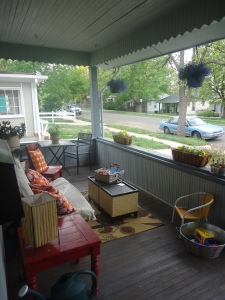
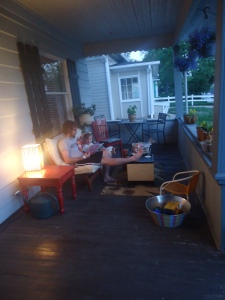
Our favorite late afternoon hang-out spot while we wait for Daddy to get home from work is the front porch. At the end of May, I'm a little late in readying the space for spring, but now it's a wonderful oasis!

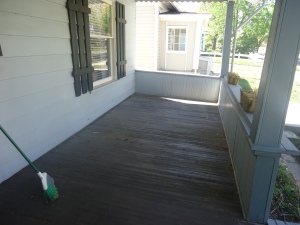
BEFORE:


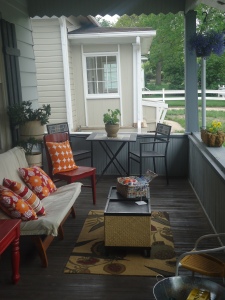
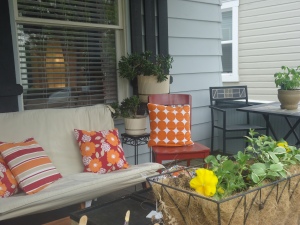
AFTER:


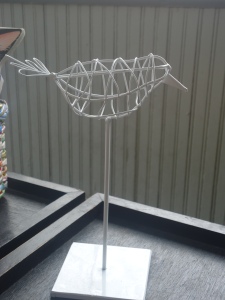
Slightly better, eh? I bought flowers and a couple plants (including an amazing organic basil plant from Whole Foods!) and an adorable little wire bird sculpture that was chirping my name, but the rest was just stuff we had around the house! One of the rare times when I appreciate all the extra junk we have yet to purge...


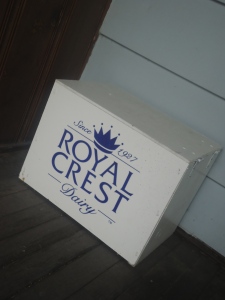
Still room for the essentials... like the milk delivery box.


How to create your own outdoor room:

1. Decide how you want to use the space. I wanted the following: space to sit with my feet UP, space for little boys to play, and space to have an occasional al fresco dinner with my husband.
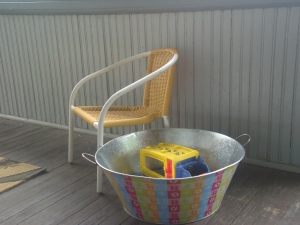
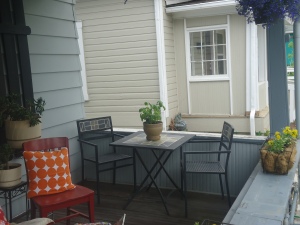
2. Rummage up some furniture to make the space functional. Think outside the box! If your outdoor room is covered, you can even use indoor furniture. If it's not covered, grab some stumps from behind the garage, an old bench in the back of your garden, or your old dining room chairs that you could claim as outdoor furniture! In my case, I used an old indoor futon chair with cubes as a foot stool, and an outdoor bistro set. A hand-me-down chair and end table both spray-painted brick red complete the space.
3. Add layers as you would in an indoor room. Rugs, lighting, plants, baskets with toys & books, or magazines. Here's where you give it your flavor!
4. And lastly, don't expect it to be perfect! At first, I was deterred by my dreary front porch, and the fact that it needs some major renovations. The house is faded, begging for paint... the porch needs a new floor... the concrete stairs are sad and peely.... but it can still be a lovely place to enjoy while we wait for the time & funds for a major reno!

A couple nights ago, my little family gathered on the porch to read our bedtime stories, and my husband gave me a great compliment: "This is my favorite room in the house!"

Thursday, May 12, 2011

Stenciling: A Lost Art

Stenciling isn't really en vogue anymore. We're more into vinyl decals. But it is so incredibly easy and feels natural and organic. My mom has been stenciling for years - she's the one that taught me! And great designers are using it again, in innovative ways. I think we lay designers are missing out! Here are some stencil projects that I am drooling over. Maybe stenciling is on it's way back...


Stenciled doormat from Lisa Leonard Online - Love!
If you're a member of my family, don't be surprised if you get something similar from me for Christmas next year :)


This stenciled floor from Casa Sugar is making me dream of stenciling my big front porch, which is in need of a make-over..
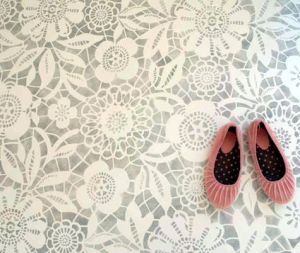


Another stenciled floor from Loft Life.
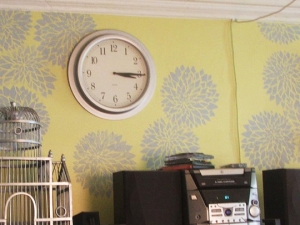


Stenciled wall at Apartment Therapy. I'm really loving grey & yellow these days.


Amazing graphic stencil on Isabella & Max Rooms. Who needs wallpaper?


Here are some stenciled items in my little nest.


SHADES:
A while back, I really wanted black and white shades to hang in my new kitchen. I was considering making them out of black and white fabric, but that seemed rather complicated for someone who has never made roman shades. Then I was perusing the clearance end-caps at Target (one of my favorite past-times) and I saw these neutral roman shades, just the size I needed, for $6! I had to go to two stores in order to find three in the right size, but at a whopping total of $18 for custom window treatments, it was well worth my time and gas money. I used some craft paint, with a fabric-safe additive (you can find it at JoAnns', Michaels, or any craft store), and an old stencil I had used for a past project, and voila! Custom window treatments.


I think they look great in my kitchen!


TRAY:
Yesterday I stenciled this old tray. It used to be shiny red (but I forgot to take a before picture - darn!). I bought it in a clearance bin during an after-Christmas sale, where they sell all the left-over decorations at 75% off. I used it for a while in it's original state, but this Spring I'm trying to "de-red" my house. There's too much red weighing us down, and I want it to feel more airy and light! Success, with this tray!


KID'S ROOM WALL HANGINGS:
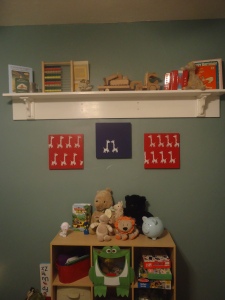
My first son was born on the 4th of July, and his power animal is the giraffe. So when we moved and re-did his room, we did our own twist on red, white & blue, with a lot of giraffes thrown in. We didn't have any artwork that went with our new theme, so I had to get creative. A small giraffe stencil from Michaels, and 3 square canvases did the job. This project was fun because it was so simple that he - at 2 years old - was able to help with the painting and stenciling.


MINI-TUTORIAL: Stenciling
So how easy is this? Very. I've yet to mess up a stenciling project - and that's saying something!

Supplies:
stencil brushes
craft paint
fabric painting medium
stencil


stencil brushes - they are round and fat - the bigger the stencil, the bigger the brush you need
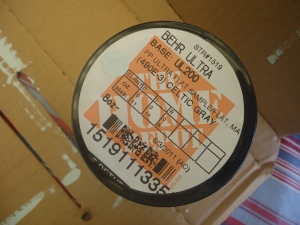


craft paint (for this project I used a wall paint sample... really any paint works)
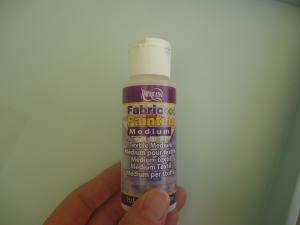


fabric medium, if painting on fabric


stencil - this one is from Stencil Planet. I just used the little fleur de lis on the left.


Begin by positioning your stencil. You can use a spray adhesive or masking tape, but I generally just hold it tightly. An adhesive is most important when you're doing a large area, or an intricate pattern.


Dip your brush in the paint, and then blot most of it off on a paper towel. You want the brush to be covered in paint, but almost dry.
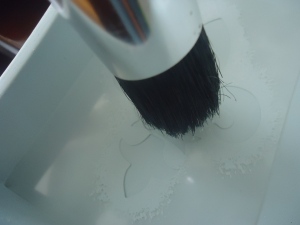


Starting in the center of the stencil and moving out to each edge, tap lightly and quickly. For this little stencil (4x3 in), I tapped 50-100 times to cover the entire area.
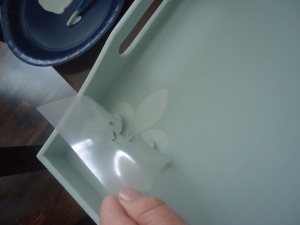


Peel the stencil back carefully. Repeat!


I stenciled this fleur de lis pattern in two muted tones on this tray, for a layered effect.


When I was growing up, my mom made her own stencils with plastic and an exacto knife. So in honor of her, I think my next project might be an owl stencil of this little blue guy, off the fabric in M's room. Isn't he cute?