Stenciling isn't really en vogue anymore. We're more into vinyl decals. But it is so incredibly easy and feels natural and organic. My mom has been stenciling for years - she's the one that taught me! And great designers are using it again, in innovative ways. I think we lay designers are missing out! Here are some stencil projects that I am drooling over. Maybe stenciling is on it's way back...

Stenciled doormat from Lisa Leonard Online - Love!
If you're a member of my family, don't be surprised if you get something similar from me for Christmas next year :)

This stenciled floor from Casa Sugar is making me dream of stenciling my big front porch, which is in need of a make-over..
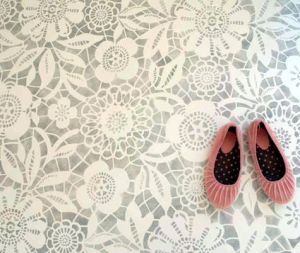
Another stenciled floor from Loft Life.
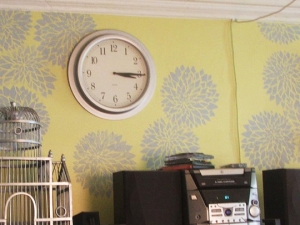
Stenciled wall at Apartment Therapy. I'm really loving grey & yellow these days.

Amazing graphic stencil on Isabella & Max Rooms. Who needs wallpaper?
Here are some stenciled items in my little nest.
SHADES:
A while back, I really wanted black and white shades to hang in my new kitchen. I was considering making them out of black and white fabric, but that seemed rather complicated for someone who has never made roman shades. Then I was perusing the clearance end-caps at Target (one of my favorite past-times) and I saw these neutral roman shades, just the size I needed, for $6! I had to go to two stores in order to find three in the right size, but at a whopping total of $18 for custom window treatments, it was well worth my time and gas money. I used some craft paint, with a fabric-safe additive (you can find it at JoAnns', Michaels, or any craft store), and an old stencil I had used for a past project, and voila! Custom window treatments.


I think they look great in my kitchen!
TRAY:
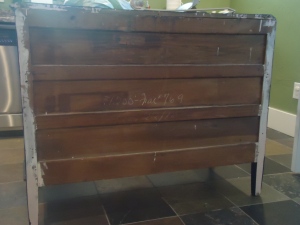
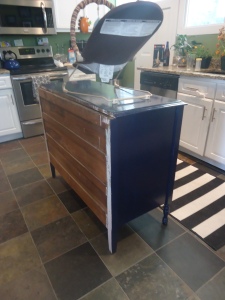
Yesterday I stenciled this old tray. It used to be shiny red (but I forgot to take a before picture - darn!). I bought it in a clearance bin during an after-Christmas sale, where they sell all the left-over decorations at 75% off. I used it for a while in it's original state, but this Spring I'm trying to "de-red" my house. There's too much red weighing us down, and I want it to feel more airy and light! Success, with this tray!
KID'S ROOM WALL HANGINGS:
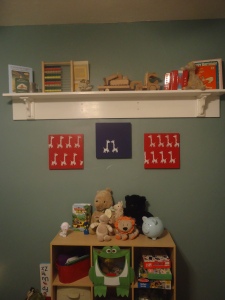
My first son was born on the 4th of July, and his power animal is the giraffe. So when we moved and re-did his room, we did our own twist on red, white & blue, with a lot of giraffes thrown in. We didn't have any artwork that went with our new theme, so I had to get creative. A small giraffe stencil from Michaels, and 3 square canvases did the job. This project was fun because it was so simple that he - at 2 years old - was able to help with the painting and stenciling.
MINI-TUTORIAL: Stenciling
So how easy is this? Very. I've yet to mess up a stenciling project - and that's saying something!
Supplies:
stencil brushes
craft paint
fabric painting medium
stencil

stencil brushes - they are round and fat - the bigger the stencil, the bigger the brush you need
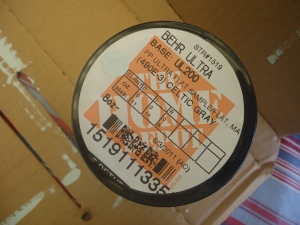
craft paint (for this project I used a wall paint sample... really any paint works)
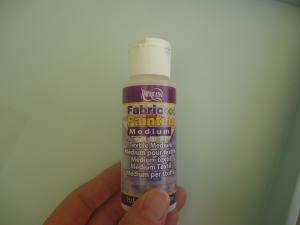
fabric medium, if painting on fabric

stencil - this one is from Stencil Planet. I just used the little fleur de lis on the left.
Begin by positioning your stencil. You can use a spray adhesive or masking tape, but I generally just hold it tightly. An adhesive is most important when you're doing a large area, or an intricate pattern.

Dip your brush in the paint, and then blot most of it off on a paper towel. You want the brush to be covered in paint, but almost dry.
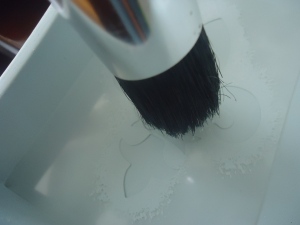
Starting in the center of the stencil and moving out to each edge, tap lightly and quickly. For this little stencil (4x3 in), I tapped 50-100 times to cover the entire area.
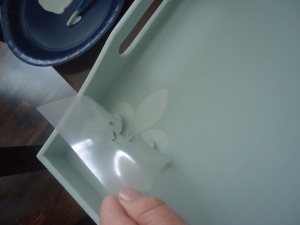
Peel the stencil back carefully. Repeat!

I stenciled this fleur de lis pattern in two muted tones on this tray, for a layered effect.

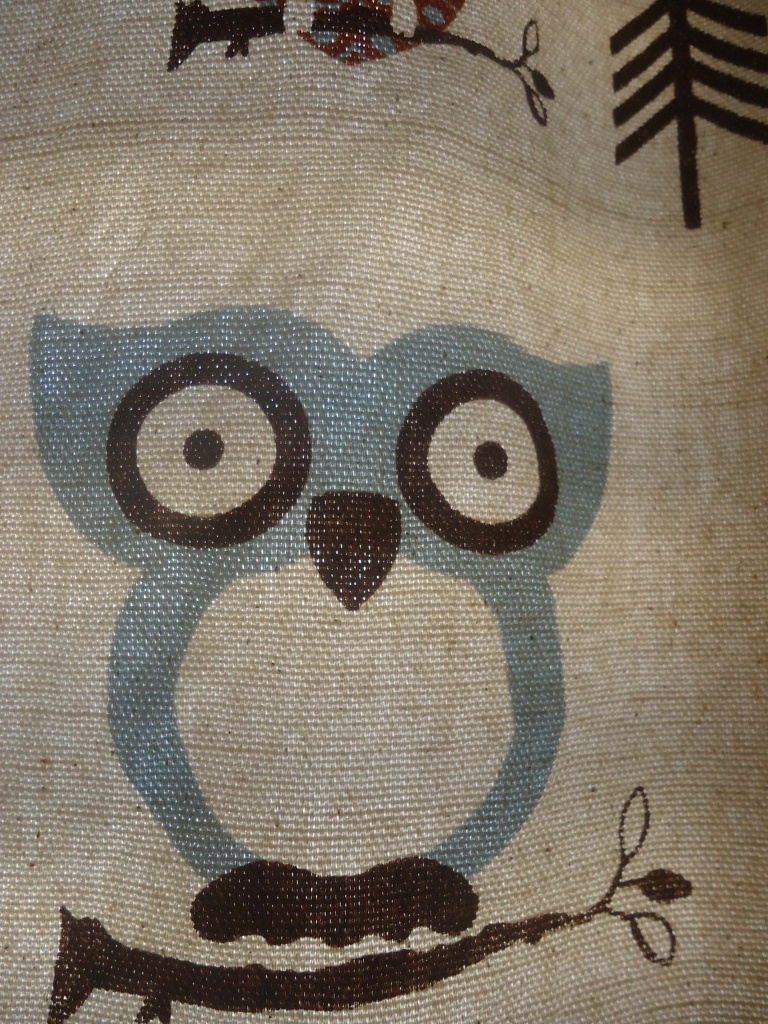
When I was growing up, my mom made her own stencils with plastic and an exacto knife. So in honor of her, I think my next project might be an owl stencil of this little blue guy, off the fabric in M's room. Isn't he cute?
