Saturday, October 8, 2011

Crockpot Yogurt

Yep, you read that right: I made yogurt in my crockpot this week. And it was super easy and super yummy!

I read about it on this website, which totally cracks me up: A Year of Slow Cooking. Where did I learn about this website? On Pinterest. Where else? I have a little obsession with Pinterest. Anyway, this woman decided to use her crockpot every day for a year... a bit extreme. As a result, she has some pretty crazy recipes on her site. I used her tutorial, and it was so easy, it's laughable.

I decided to try it because we eat a lot of yogurt... and not the cheap stuff. Justin and I love these little DanActive yogurt drinks:


And I feed organic YoBaby to the kids. Well, to one at least... and baby Emerson will be eating them pretty soon:


This is what I started with:


-half gallon whole milk
-1/2 cup of yogurt for starter


And here's the result! So yummy. It mentions this on "A Year of Slow Cooking," but this yogurt isn't as thick as storebought yogurt. It's more like the texture of plain yogurt. But that's ok with me, since I like to drink it anyway! I've actually been diluting it a bit more, adding vanilla & a little honey. Voila! Or I eat it with granola. Next time I'm going to puree fruit to mix in as well. I honestly think I won't be buying any more yogurt. I'll just save 1/2 a cup of this as a starter for my next batch of crock-pot yogurt. Let me know if you decide to try this, and how it goes!

Thursday, September 29, 2011

Command Central

I was feeling desperate to actually finish a project this week. It's been a while. And considering the week we've had, with the whole family coming down with a cold, I'm shocked to announce that it's only Wednesday and I actually have something done and ready to post for y'all to see!

This summer, a friend (thank you, Frances!) gave us an armoire she no longer needed, and I tucked it in the corner of our dining room (filled with clutter, of course), unsure of exactly what would be the best use. China cabinet? Kitchen gadgets & table linens? Games & toy storage? This week I opted to turn it into what I call Mommy Command Central.
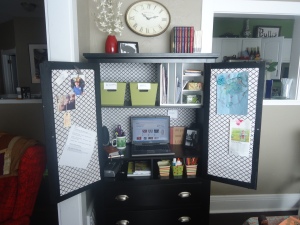


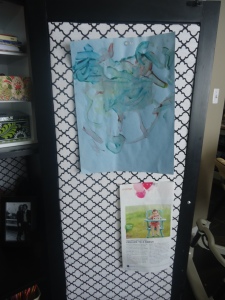
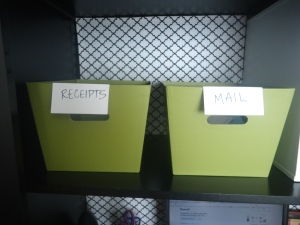
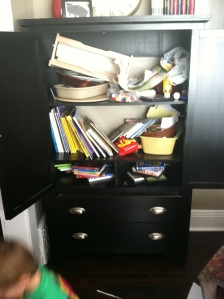
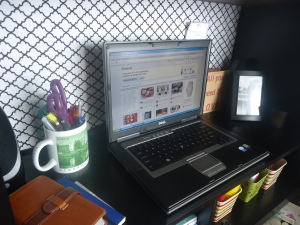
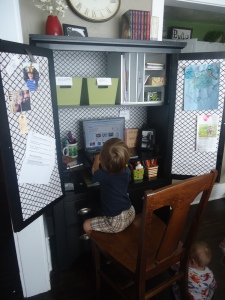
Although the project was small in scope, I think it's going to have big impact on our family's organization. I tackled three issues: 1. We are generally over-run by paper... we get so many credit card applications in the mail every day, keeping up with those alone - shredding & disposing - can be a challenge, not to mention all the other random papers that come floating through. 2. I haven't been able to figure out how to corral all of Finley's art supplies, craft stuff, play dough, movies, educational tools... all those kid items that I don't want to toss into a bin in his bedroom with the toys. 3. I drag my laptop all through the house, plugging the cord in at random spots... my initial plan was for it to live in the kitchen, but it's really never in there. It needed a home.

BEFORE:

AFTER:
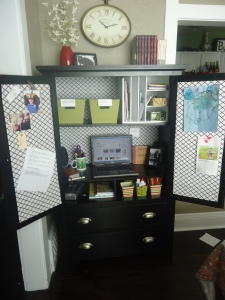


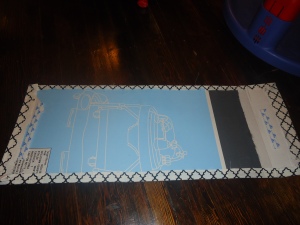
(I want to make cute labels for these boxes, using this site I learned about on Pinterest: http://www.picnik.com/ Not only for editing photos, but also for making cute printables, apparently... Not a top priority, though!)
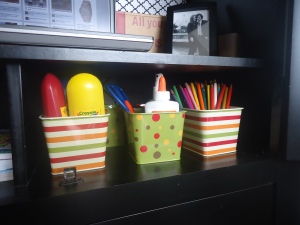
Here's the two lower drawers full of Finley's stuff:
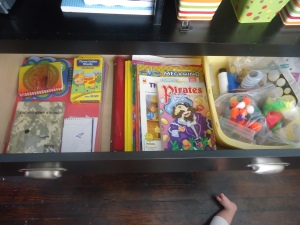
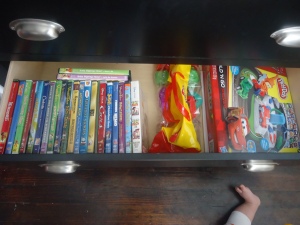
(the baby foot in these shots makes me laugh!)


Aside from organizing, really all I did was create the 2 pin boards on the insides of the door, and line the back panel with fabric for visual impact. Supplies: fabric, cardboard, Elmer's glue, staple gun, & a little double-sided velcro, It couldn't be easier!

To make the pinboard, I cut cardboard to the size of the in-set section on the insides of the doors. Then I laid it on the fabric, and cut the fabric with 2" extra all the way around. I put a squiggle of simple Elmer's glue on the front side of the cardboard, and made sure that the fabric was laid on squarely, since it had a graphic pattern. Then I turned it over to fold & glue the fabric over the edges, making sure to stretch it equally, to keep the pattern from distorting. Pretty basic. My cardboard even had a crease in it about 6" from the bottom, but you don't notice it once it's installed.


I used some left-over double-sided velcro to attach the cardboard to the armoire. I had maybe 2 feet, which I cut into 4 small pieces. It was plenty to hold it in place. I probably could have used half that much.
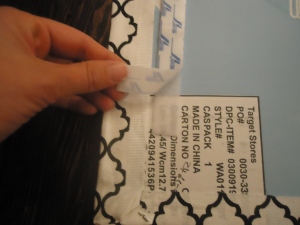

The cardboard works great with little tacks, and I didn't have to pay for cork board to go underneath the fabric!


Then I measured the back panel and cut a piece of fabric with about 1" extra around each edge. I folded & ironed the 1" edge on all sides, and used a staple gun to attach it to the wood (only waking the sleeping baby once with the loud noise). This worked great, as there is a little give, which allows me to send my computer cords out the back of the armoire!

This was super easy, and only cost me $15 (fabric, and a couple boxes from Target's Dollar Bins). My whole family is loving it so far - Finley loves to play on the PBS Kids website while sitting here!

Saturday, September 10, 2011

Visit to Cedaredge

My little family recently trekked across the state to visit my parents on the "Western Slope" of Colorado's Rocky Mountains. They live in beautiful Cedaredge - a quaint little retirement town, which I didn't appreciate enough when I was growing up. Now that I have my own family, I understand better what a blessing my childhood was, including my parent's decision to raise us in the country, with the freedom to roam and play and imagine out-of-doors. Now my parent's unique home & property is heaven for my high energy 3-year-old son!

We spent our days picking raspberries:


Getting llama kisses:


Eating my mom's great, healthy food:


Playing with "Lizzie Dog":


And just hanging out as a family at my parent's beautiful B&B!


You too, could have this vacation, if you go here and make a reservation to stay at Cedars' Edge Llamas Bed & Breakfast! :) It really is a lovely place to visit!

Saturday, August 20, 2011

Finally Finished!

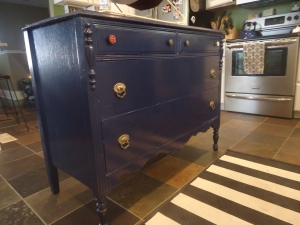
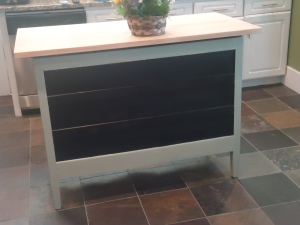
My "dresser-turned-kitchen-island" is finally finished!


I've actually been enjoying using it for a few weeks... I just don't have much blogging time these days. You might remember the before pictures when I bought this on Craigslist.


BEFORE:


AFTER:


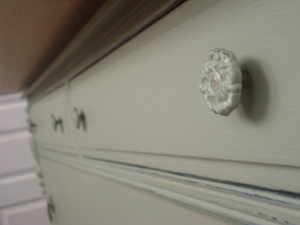
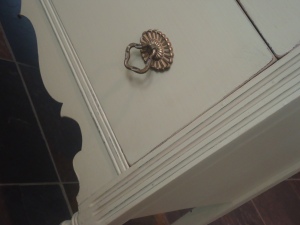
It turned out to be more work than I anticipated... sanding & sanding some more, de-glossing, painting, distressing, glazing, adding a top... whew! It was time-consuming. But I LOVE the end result, both in style, and in the functionality it has added to our kitchen. It's painted in a neutral greenish-grey, and the back is a chalkboard for my little boys. I re-used the hardware (with a little painting/distressing on the upper knobs), and the butcher block top is from IKEA. Not only was it less expensive than a ready-made island, but it has lots of character, and already feels kind of like an old friend.


Saturday, July 30, 2011

Frugal Find: Outdoor Patio Furniture

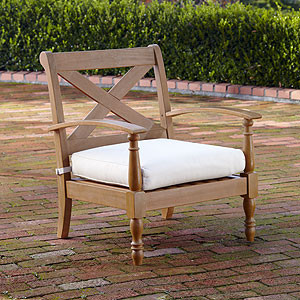
As I've said before, I love a good deal as much as the next girl, especially when I've been patiently waiting to make a purchase. I've been keeping my eyes peeled for a super-affordable patio set to aid in the much-needed makeover of my back porch. I've looked a bit online to see what catches my eye, but I haven't done any serious shopping... hoping to find something used, or on sale in an end-of-the-season clearance. In my online searches, I've liked this Maldives patio set from World Market:


So you can imagine my delight when, on my 2nd lap around World Market a couple days ago, I found a few left-over pieces on a super-duper clearance tucked behind a display.

They were 50% off for basic end-of-the-season clearance. A great deal, right? Well, this particular set was an additional 25% off because the manufacturer forgot to put the outdoor sealant on it. Well, that's easy! I can take care of that! A patio set at 75% off? Yippee! Imagine my glee when they told me I could ALSO use my 15% off coupon on top of the 75% off. That's a total of 90% off! So I stocked up!

One of these:


Two of these:


And a table:


At a price tag of under $100 for all 4 pieces, I couldn't be happier! The clerk who checked me out was aghast at the deal I'd found.

Let the back porch makeover commence!

Wednesday, July 27, 2011

Welcome to Denver, IKEA!

If you live in the Denver metropolis, you are likely well aware of the fact that an IKEA store now resides near Park Meadows Mall. It's been quite the topic of conversation the last few months. And now that it's open, the buzz is even louder!


IKEA's brilliant advertising.
We saw this trailer driving around LoDo last week.


In honor of IKEA Centennial's opening day, I would like to share a few items I am looking forward to purchasing:


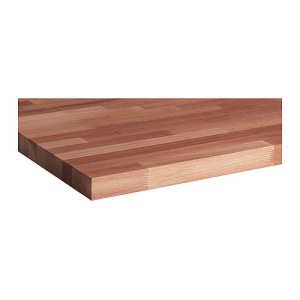
LAGAN Countertop... for my kitchen island.


New place mats...


SKURAR plant pot, but I kind of want to use this as a dainty trash can in my new bathroom...


Baby bibs for eating...


Baby bibs for drooling...


Fabrics...


Storage accessories...


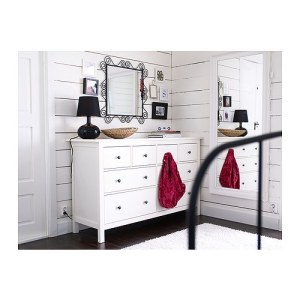
HEMNES Linen cabinet...


Maybe a new dresser...


A couple shoe cabinets...


Outdoor lounger...


Ok, now I'm getting a little carried away. But my husband agreed to take me there on our next date night! Then I can stop acting like a giddy tourist, and taking pictures with the advertising buses I see around town:


That's me & my sister. Yes, we're lame. And yes, my husband & her boyfriend were a little embarrassed!

What are your thoughts on IKEA? People seem to either love it or hate it. I think I'm gonna be in the former group... but I'll keep you posted.

Tuesday, July 19, 2011

Unfinished Projects vs. Progress

I can't believe how July is just slipping away. I've really intended to post more often! What have I been up to (aside from normal life )? Well, I've either been dabbling in a number of projects ADD style, or I've been making progress in multiple areas... depends on how you look at it!

Dresser turned kitchen island taking shape - I began sanding a few nights ago, in the precious 1.5 hours I have to myself every day, between 8:30pm & 10pm And my neighbor only yelled at me once. Sigh. I guess I can't blame her... I was using a fairly loud power tool on my back porch at 9:45pm on a Thursday night. I was going to quit at 10:00, though, I promise! She probably doesn't realize that I have a baby who doesn't nap, and an EXTREMELY active/demanding toddler who doesn't give me a moment of peace all day. Night is the only chance I get to do things like this! I was mad/upset for a few minutes, and then I got over it. She was probably right.


messy work!


Now it's mostly painted... just a few finishing touches, and then a new top, and it'll be ready to show y'all!

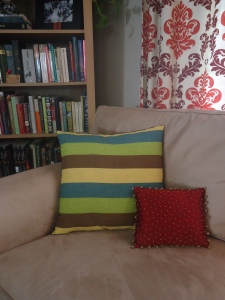
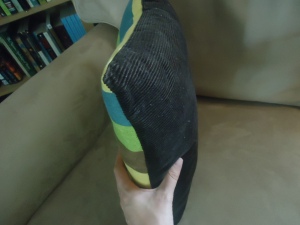
Sewed a couple 20 minute pillows - no zippers, welting or adornment. (Although an attempt at a short-cut turned them into 90 minute pillows! Should have just done them properly the first time... sigh.) The striped ones are new... I already had the red & floral pillows.


The striped fabric was a remnant I found in a clearance bin a year or so ago... picked it up for some unnamed project. The back is leftover brown corduroy from M's nursery.


They're not the most amazing pillows in the world, but just a little pick-me-up for the couch, which it's been needing for a while! And I'm currently really loving yellow - so I like this little splash of yellow mixed in with the reds & greens in my house.

Made matching shirts for baby & bro (tutorial to come!):


Mostly, though, I've been hanging with baby M & big brother Finley. Today we had a family outing at Evergreen Lake with Daddy. We escaped the heat & spent time together as a family - win-win!