This summer, a friend (thank you, Frances!) gave us an armoire she no longer needed, and I tucked it in the corner of our dining room (filled with clutter, of course), unsure of exactly what would be the best use. China cabinet? Kitchen gadgets & table linens? Games & toy storage? This week I opted to turn it into what I call Mommy Command Central.
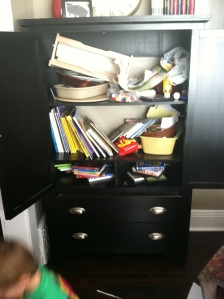
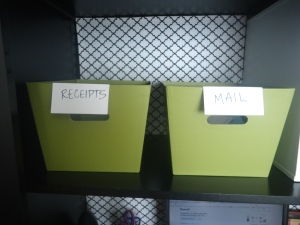
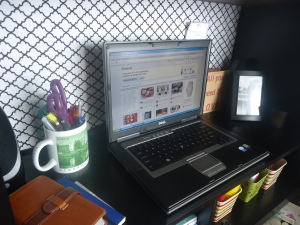
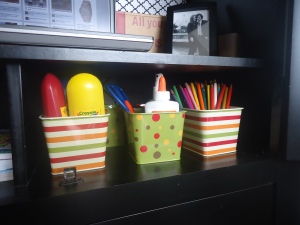
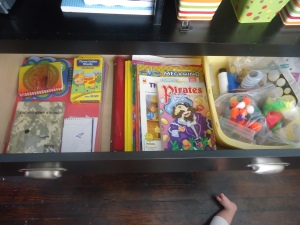
Although the project was small in scope, I think it's going to have big impact on our family's organization. I tackled three issues: 1. We are generally over-run by paper... we get so many credit card applications in the mail every day, keeping up with those alone - shredding & disposing - can be a challenge, not to mention all the other random papers that come floating through. 2. I haven't been able to figure out how to corral all of Finley's art supplies, craft stuff, play dough, movies, educational tools... all those kid items that I don't want to toss into a bin in his bedroom with the toys. 3. I drag my laptop all through the house, plugging the cord in at random spots... my initial plan was for it to live in the kitchen, but it's really never in there. It needed a home.
BEFORE:
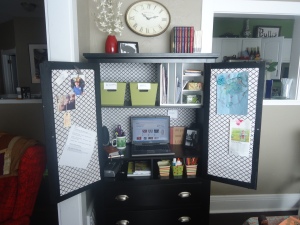
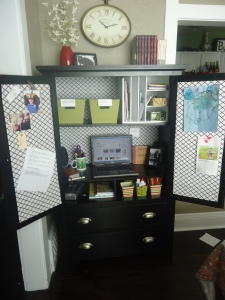
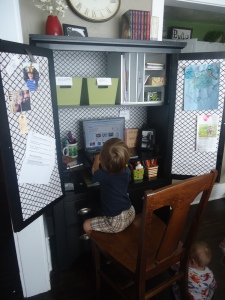
AFTER:
(I want to make cute labels for these boxes, using this site I learned about on Pinterest: http://www.picnik.com/ Not only for editing photos, but also for making cute printables, apparently... Not a top priority, though!)
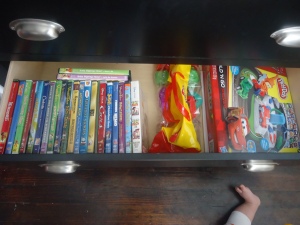
Here's the two lower drawers full of Finley's stuff:
(the baby foot in these shots makes me laugh!)
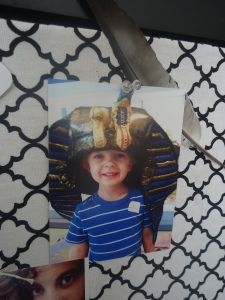
Aside from organizing, really all I did was create the 2 pin boards on the insides of the door, and line the back panel with fabric for visual impact. Supplies: fabric, cardboard, Elmer's glue, staple gun, & a little double-sided velcro, It couldn't be easier!
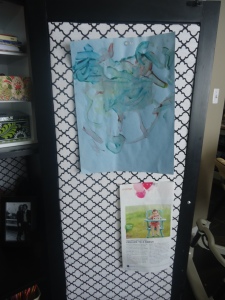
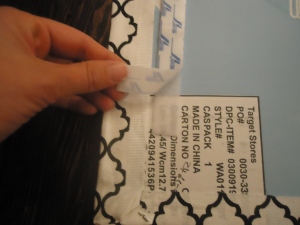
To make the pinboard, I cut cardboard to the size of the in-set section on the insides of the doors. Then I laid it on the fabric, and cut the fabric with 2" extra all the way around. I put a squiggle of simple Elmer's glue on the front side of the cardboard, and made sure that the fabric was laid on squarely, since it had a graphic pattern. Then I turned it over to fold & glue the fabric over the edges, making sure to stretch it equally, to keep the pattern from distorting. Pretty basic. My cardboard even had a crease in it about 6" from the bottom, but you don't notice it once it's installed.
I used some left-over double-sided velcro to attach the cardboard to the armoire. I had maybe 2 feet, which I cut into 4 small pieces. It was plenty to hold it in place. I probably could have used half that much.
The cardboard works great with little tacks, and I didn't have to pay for cork board to go underneath the fabric!
Then I measured the back panel and cut a piece of fabric with about 1" extra around each edge. I folded & ironed the 1" edge on all sides, and used a staple gun to attach it to the wood (only waking the sleeping baby once with the loud noise). This worked great, as there is a little give, which allows me to send my computer cords out the back of the armoire!
This was super easy, and only cost me $15 (fabric, and a couple boxes from Target's Dollar Bins). My whole family is loving it so far - Finley loves to play on the PBS Kids website while sitting here!

Super duper cute! You are so crafty! What an improvement!
ReplyDeletefab! great fabric too!
ReplyDelete